
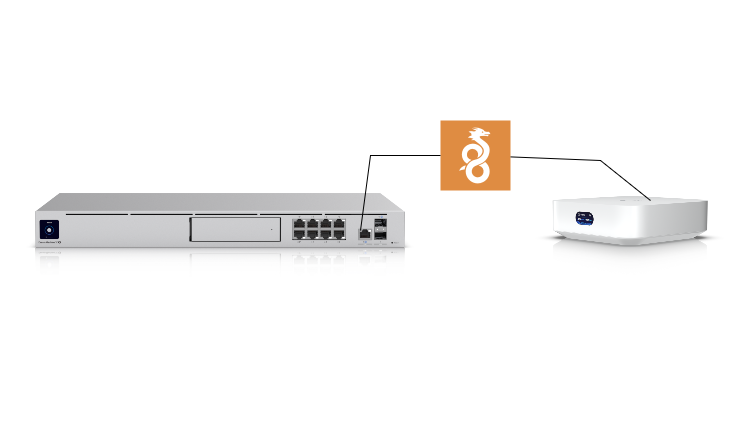
In this guide we will look at the steps at setting up an WireGuard VPN between UniFi Express and UDM SE.
The UDM SE will be configured as the server and the Express as client. We will then setup routing to forward traffic for a subnet behind the UDM SE and configure firewall rules to restrict traffic as required.
Server Setup (UniFi UDM SE)
Login to your UniFi Console where the UDM SE (in our case) is registered, this can be unifi.ui.com or using your local gateway IP address.
Go to the setting wheel (bottom left, assuming your doing this on a computer as apposed to using your phone.
Select VPN on the left, then VPN Server along the top.

Select the following:-
VPN Type: WireGuard (if its not already selected)
Name: enter a friendly name for the VPN
Private Key: leave this as the long string that’s generated
Public Key: same as above
Server Address: select the WAN interface to use and port
User Alternative Address for Clients: check this if your WAN IP address is private (behind another router) – double NAT
If selected the above, enter the IP address or FQDN to use by clients
If you want to customise the IP range used for the VPN clients select Manual under Advanced and edit as required.
Once complete click ‘Add Client’ under Clients
Enter a friendly name to identify this client, select Manual if you want to set the IP Address or key then click download to download the config file, store this securely as we’ll use this later to configure the Express. Click add once happy.
Click Add at the bottom of the page to save the VPN Server configuration.
Client Setup (UniFi Express)
Move over to the Express side and again login to that console. If your using unifi.ui.com and own and manage both you should be able to select the console drop down (top left) to move over.
This time head over to the Settings wheel > VPN > VPN Client
Select WireGuard

Enter a friendly name
Choose setup, file and upload the configuration file we saved earlier.
All of the settings should be good, click Add at the bottom to save.
If all is working the VPN should connect!
Traffic Routing
Following a previous update to UniFi Network (not sure the exact version) by default no traffic will use the VPN (we need to setup routing/traffic rules for this)
Previously ALL traffic would use the VPN.
So to get traffic to route across the VPN we need to head over to Routing (this is on the client, Express side)
I initially tried to setup using a static route to send all traffic destined for the subnet on the UDM side over the VPN but this didn’t seem to work. Not sure why, will have to raise this with UniFi.
Therefore we need to use the ‘Traffic Routes’ page.

I’ve selected to route ‘Specific Traffic’, in this case its traffic to the range 192.168.100.1 to .254 (or 192.168.100.0/24 in CIDR format) and from the ‘Default’ network.
The interface is the VPN created in the previous section.
Enter a friendly description and click Add Entry.
You should be now able to connect to something on the other side. For example, a simple docker image on 192.168.100.1

Firewall Rules
The above is great, we can specify the traffic to be routed over the VPN from the client side using routing rules but to properly secure this we should set Firewall rules on the Server side to ensure we are fully in control of our VPN traffic. As by default all VPN traffic is allowed to any network.
On the Server side (UDM) go to Profiles > IP Groups
Create a new IP Group for our VPN subnet (in my case that is 192.168.150.0/24)

Add this group and then create another group for all the private IP address space (RFC1918)
10.0.0.0/8
172.16.0.0/12
192.168.0.0/16

Next go to Security > Firewall Rules
Click LAN then ‘Create Entry’, this will be our Allow rule to allow traffic from VPN clients to whatever you require.
Select the following Options:
Type: LAN Out
Name: WireGuard Clients (or a friendly name)
Protocol: as required
Source Type: Port/IP Group
Address Group: Select the VPN Client group we setup earlier
Port Group: Any
Destination Type: As required (Network in my case)
Network: I’ve just selected one particular network, select as required
Network Type: As required
Click Add Rule
Create another entry, this will be a block rule to block all other traffic from VPN users.

Type: LAN Out
Name: Block WG Clients
Action: Drop
Protocol: All
Source Type: Port/IP Group
Address Group: Our VPN Client Group as used before
Port Group: Any
Destination Type: Port/IP Group
Address Group: Any
Port Group: Any
This will block any other traffic from VPN Users. Click Create rule.
Ensure that our Allow rule is Above the Drop rule.
Conclusion
I realised after completing this that I didn’t use the RFC1918 group and instead blocked ALL other traffic for VPN Users. If you where routing ALL traffic through this VPN and wanted to allow Internet access through the VPN tunnel you would need to use that group in the block rule instead of simply blocking ALL.
This is nice simple solution to setting up remote/spoke sites to have access to resources at the main ‘server’ site. Or to use the Express as a remote, maybe travel router (ethernet Internet access dependant).